Pakistani positions collapsed one after another in rapid succession

- Update Time : 04:59:08 am, Monday, 15 December 2025
- / 385 Time View

The Road to Victory: Bangladesh’s Liberation War, November–December 1971
By the third week of November 1971, the momentum of the Liberation War had shifted decisively. Coordinated and intense offensives by the Mukti Bahini across multiple fronts—such as Jessore, Satkhira, Feni and Sylhet—forced Pakistani forces to retreat from several border outposts. This marked a major breakthrough on the battlefield for the freedom fighters.
This success did not come overnight. From August and September, guerrilla units of the Mukti Bahini had steadily intensified their operations, working in small, mobile groups. Through surprise attacks on enemy positions, sabotage of power stations and railway bridges, and disruption of supply routes, they gradually weakened the morale and operational capacity of the occupying Pakistani army.
A particularly striking chapter of resistance was written by the naval commandos of the Mukti Bahini. Demonstrating exceptional bravery, they targeted Pakistan’s crucial supply lines by sinking vessels—including coasters, tankers, barges and tugboats—at key ports such as Chattogram, Chalan, Mongla and Khulna. By crippling logistics along rivers like the Karnaphuli and the Pashur, they left the occupying forces disoriented and vulnerable.
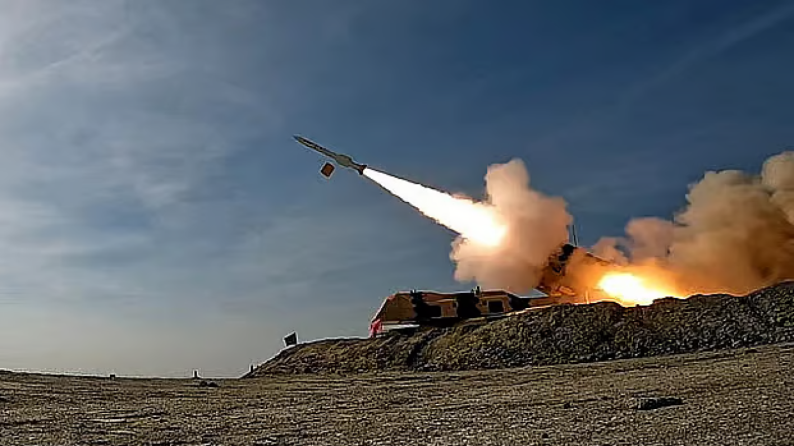
On the afternoon of December 3, Pakistan escalated the conflict by launching surprise air strikes on seven locations in India, including Amritsar, Pathankot, Jodhpur, Srinagar and Agra. This unilateral action triggered a full-scale war. India formally entered the conflict in support of Bangladesh. That very night, a joint force comprising the Mukti Bahini and the Indian military launched coordinated assaults across seven border sectors, aiming to encircle Pakistani positions inside Bangladesh.
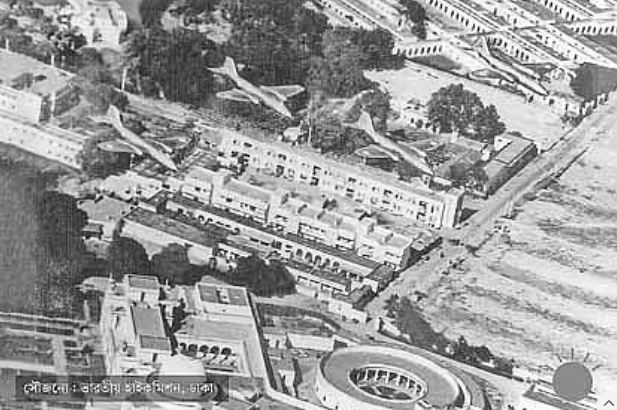
The joint command adopted a strategy of rapid, multi-directional attacks designed to isolate Dhaka—the political and strategic heart of the country—from the rest of the territory. Within the first two days of aerial combat, Pakistan lost all 20 of its operational fighter aircraft in the eastern theatre. Continuous Indian air strikes rendered major airbases, including Tejgaon in Dhaka, as well as ports and supply hubs, inoperative.
On December 4, after fierce fighting, freedom fighters liberated Lakshmipur district, compelling Pakistani troops to surrender. On the same day, the strategically important town of Debidwar in Cumilla fell to the joint forces, forcing enemy troops to retreat to the Mainamati cantonment. The following day, December 5, key highways were blocked across multiple sectors, severing road links between Dhaka and Chattogram, Sylhet, Rangpur, Rajshahi and other major regions.
December 6 marked a turning point. Feni was liberated in the morning, and Pakistani troops fled toward Chattogram under relentless pressure. Jessore—once a stronghold—was also freed, with enemy forces withdrawing toward Khulna even before the joint forces entered the cantonment. On the same day, Habiganj, Meherpur, Lalmonirhat, Kurigram and vast areas of Rangpur district were liberated following decisive victories at the Teesta bridge and surrounding areas.
On December 7, Pakistani forces retreated from Noakhali and Magura under a pincer attack. The next day, December 8, the joint forces took control of Cumilla city, including its strategically vital airport. Victories were also secured in Chandpur and Jhalakathi.
By December 9, the noose around Dhaka began to tighten. Joint force units advanced from multiple directions—via Ashuganj to Bhairab Bazar, through Daudkandi, and from the north via Jamalpur. On the same day, forces bypassed Jhenaidah and reached the outskirts of Kushtia.
On December 10, Noakhali town was fully secured, allowing a segment of the joint forces to advance toward Chattogram. In Mymensingh, Pakistani troops fled toward Dhaka via Tangail after coming under heavy attack. Following intense combat, Jamalpur was liberated late at night. Ashuganj also fell after a fierce battle, enabling joint forces to cross the Meghna River and establish positions near Bhairab.
On December 11, the joint command declared that the fall of Jamalpur and Mymensingh had placed Dhaka in grave danger. Forces from the northeast crossed the Meghna and moved steadily toward the capital. Kushtia was liberated after two days of heavy fighting, though several Indian soldiers were killed or wounded in enemy ambushes. That day, nearly 400 Pakistani troops surrendered at Laksam, between Chandpur and Cumilla. Meanwhile, forces advancing from Jessore reached the banks of the Madhumati River after crossing Magura.
Later that afternoon, Indian paratroopers were deployed in Tangail—an operation of immense strategic importance. Securing Tangail prevented retreating Pakistani troops from reinforcing Dhaka and further tightened the encirclement of the capital.
The battle for Dhaka effectively began on December 12. Joint forces advanced to Narsingdi, just 52 kilometers from the capital, while other units moved southward from Mymensingh. Forces also reached the outskirts of Khulna, and the fall of Bogura—Pakistan’s largest northern base—appeared imminent. In Chattogram, enemy resistance continued to crumble.
By December 13, Pakistani troops in Dhaka were surrounded from three directions and came under sustained artillery fire. One column advanced beyond Narsingdi to the city’s outskirts, while another moved from Mirzapur via Joydebpur. Forces from Chandpur crossed the Meghna at Daudkandi and began crossing the Shitalakkhya River.
On December 14, a major joint force crossed the Madhumati River from Faridpur toward Dhaka. Manikganj was liberated, with troops advancing toward Savar. Other units engaged Pakistani forces along the Turag River, while columns pushed forward along the Chandra–Savar–Mirpur axis. That day, joint forces came within five miles of Chattogram city.
On December 15, artillery bombardment began against military targets less than two miles from Dhaka. After crossing the Meghna from Daudkandi, joint forces fully encircled the capital. When Savar was liberated, Pakistani troops attempted a last stand by sabotaging the Mirpur Bridge. The Mukti Bahini and allied forces launched a decisive assault to break the final resistance guarding Dhaka.
By the end of December 15, every natural and military barrier between the border and Dhaka had been dismantled. At the same time, Pakistan’s last hopes of external intervention faded, as neither the US Seventh Fleet led by the aircraft carrier Enterprise nor Chinese assistance altered the outcome. With Dhaka completely surrounded, the surrender of Pakistan’s Eastern Command—led by Lieutenant General A.A.K. Niazi, along with approximately 93,000 troops—became inevitable.